Painting is one of the most accessible and impactful ways to transform a space, but starting out can feel overwhelming. A little preparation and knowledge of techniques can go a long way in ensuring professional results. This guide will walk you through the basics, giving you tips and tricks to make your first painting project a success.
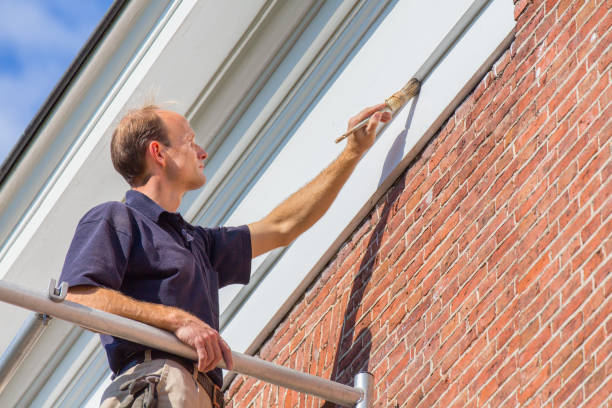
Tips for Tackling Interior & Exterior Painting Toledo OH Projects
Painting is cost-effective, relatively easy for beginners, and requires minimal specialized skills. Whether you’re completely renovating or simply refreshing a room, paint can dramatically change the mood and appearance of your home.
– Low Investment: You only need basic tools and materials to get started.
– Fast Results: A single coat of paint can give immediate results.
– Customizable: Choose from endless colors and finishes to match your style.
Types of Paint Finishes
Selecting the right finish is as important as choosing the color itself.
| Finish Type | Characteristics | Best For |
| Flat/Matte | Non-reflective, conceals imperfections | Ceilings, low-traffic areas |
| Eggshell | Slight sheen, more washable than matte | Living rooms, dining rooms |
| Satin | Smooth with moderate shine | Kitchens, bathrooms |
| Semi-gloss | Durable with noticeable shine | Trim, doors |
| High-gloss | Very shiny, durable | Cabinets, furniture |
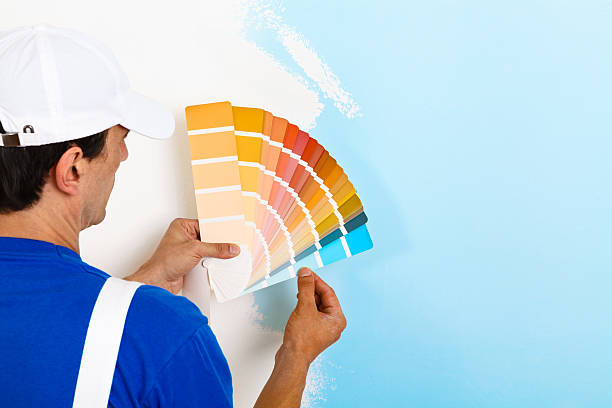
Choosing the Right Paint Color
Selecting the right color can seem daunting with so many options available.
- Test Swatches First: Purchase small tester cans in shades you’re considering and apply them on different walls in your space to see how they look under various lighting conditions.
- Consider Room Size: Light colors can make a room feel larger, while darker hues create coziness.
- Match Your Decor: Take cues from your furniture or existing design elements.
- Natural light enhances colors and makes them appear true-to-tone.
- Artificial light may warm or cool certain hues.
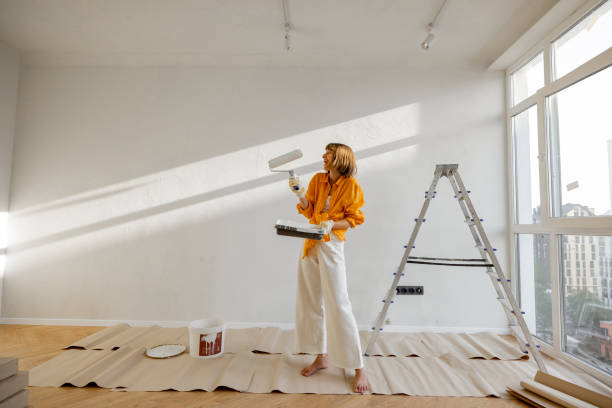
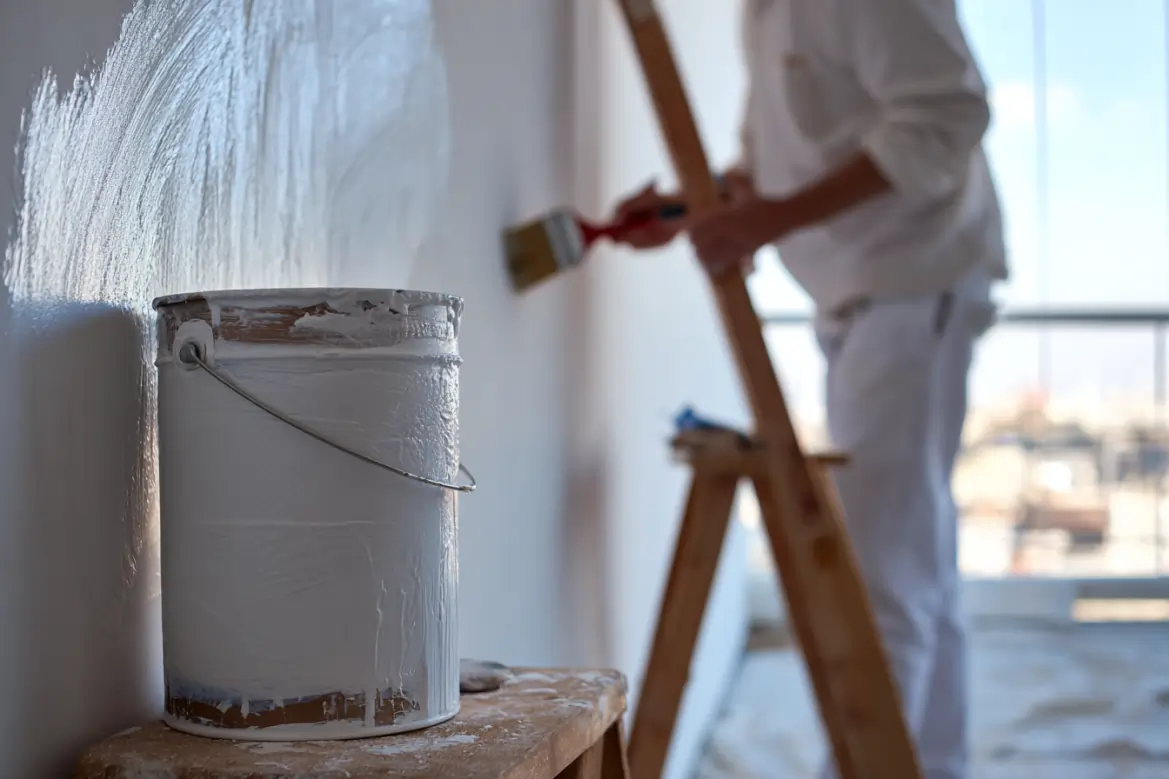
Basic Painting Equipment You’ll Need
Before you begin painting, gather all essential supplies for efficiency and quality results: – Paint brushes (angled brush for trim work) – Rollers (with appropriate nap thickness based on surface texture) – Drop cloths – Painter’s tape – Paint trays – Ladder or step stool
For beginner painters looking to reduce messes or mistakes: – Look into using edge-painting tools for clean lines without needing painter’s tape. – Consider investing in extension poles for easier coverage on high walls or ceilings.
Preparing Yourself Mentally
Having realistic expectations about timeframes is essential when starting as a beginner painter: 1-day projects such as accent walls are great learning experiences before tackling larger multi-day renovations across multiple rooms
Must-Have Tools and Supplies for Painters Toledo OH Professionals Rely On
Having the right tools and supplies is crucial for achieving a professional-looking paint job. Whether you’re a beginner or an experienced painter, assembling a comprehensive painter’s kit can save you time, money, and frustration. Here’s a breakdown of the essential items every painter should include in their toolkit.
Painting Tools
A well-rounded collection of painting tools is key to tackling different surfaces and areas with precision.
- Angled sash brushes for cutting in along edges and corners
- Flat brushes for broad, even strokes on larger surfaces
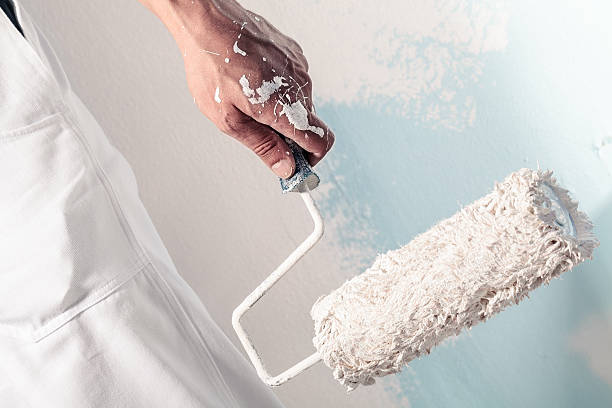
- Standard rollers (9 inches) for walls and ceilings
- Mini rollers (4 inches) for tight spaces or furniture
- Smooth surfaces (⅜ inch nap or less)
- Semi-smooth/medium surfaces (½ inch nap)
- Rough/textured surfaces like brick (¾ inch nap or more)
- Paint Tray & Liners: Essential for loading rollers evenly while minimizing clean-up efforts.
- Extension Pole: Ideal for reaching high walls or ceilings without using ladders.
- Painter’s Tape: Ensures clean edges by masking off areas you don’t want to paint, such as trim, windows, or hardware.
Surface Preparation Supplies
Prepping your workspace thoroughly leads to better paint adhesion and durability.
- Drop Cloths(canvas or plastic): Protect floors and furniture from spills and splatters. Canvas drop cloths tend to be more durable and reusable over time than plastic ones.
- Sandpaper & Sanding Sponge: Helps smooth out rough patches or peeling paint; opt for varying grits depending on the surface condition.
- Spackling Paste & Putty Knife: Fills in small holes, cracks, or imperfections before painting begins.
- A degreaser or TSP solution to remove dirt, grease, and grime from walls.
- Microfiber cloths or tack cloths to wipe away dust after sanding.
Paint Management Essentials
Managing paint effectively is just as important as applying it correctly.
| Item | Purpose |
| Paint Can Opener | To easily open cans without damaging lids |
| Stir Sticks | Ensure that paint pigments are thoroughly mixed |
| Pour Spout | Clips onto paint cans to prevent messy drips when pouring |
| Paint Strainers | Filters out dried bits or debris from old paint |
Safety Gear
Safety should always be prioritized when painting indoors or outdoors.
- Gloves: Protect hands from chemicals in primers, paints, and cleaning solutions.
- Safety Glasses/Goggles: Shield eyes from accidental splashes.
- Respirator/Mask: Prevent inhalation of harmful fumes—especially when working with oil-based paints.
- Step Ladder/Stool: Provides stable support when painting hard-to-reach spots.
Optional Add-ons for Advanced Painters
- Airless Paint Sprayer – Speeds up large-area coverage with smooth results.
- Edging Tool – Simplifies creating crisp lines along trim without tape.
- Heat Gun – Useful for removing old layers of stubborn paint.
By curating these essentials in your painter’s kit, you’ll be well-prepared to tackle any project with confidence and efficiency while ensuring high-quality results every time.
Its role goes beyond simply preparing the surface for paint; it can significantly impact the durability, finish, and overall appearance of your project. Understanding when and why to use primer is crucial for achieving a professional-quality result.
– Sealing porous surfaces
– Blocking stains
– Providing an even base for color consistency
- New drywall or wood surfaces tend to be highly porous and can absorb paint unevenly.
- Transitioning from dark to light colors can be challenging without primer. A high-quality primer provides opacity, preventing darker shades from bleeding through lighter topcoats.
- For surfaces with visible stains (e. g. , water damage, smoke residue), primers with stain-blocking properties help cover discoloration effectively before applying your desired paint color.
- In spaces like bathrooms or kitchens where moisture levels are high, primers designed for moisture resistance provide added protection against mold and mildew growth.
- If painting over glossy finishes (like previously painted trims or cabinets), primers help improve adhesion by creating a slightly roughened surface.
Types of Primers
| Type | Best For | Notes |
| Latex Primer | Drywall, wood | Easy to clean with water; low odor |
| Oil-Based Primer | Stained walls, wood | Excellent stain-blocking but emits strong fumes |
| Shellac Primer | Severe stains (water/smoke damage) | Dries quickly but requires denatured alcohol for cleanup |
| Bonding Primer | Glossy or hard-to-paint surfaces | Specifically designed for tricky materials like metal or tile |
- Improved Coverage: It minimizes the number of topcoats needed by covering minor imperfections beforehand.
- Cost Efficiency: By sealing porous surfaces effectively, primer reduces excessive absorption of expensive topcoat paints.
- Smoother Finish: It ensures that your final coat appears uniform without visible blotches or streaks.
To achieve optimal results when using primer: – Ensure the surface is clean and dry before application. – Use appropriate tools such as brushes for edges/corners and rollers for larger areas. – Allow adequate drying time as specified on the product label. – Apply one or two coats depending on surface conditions.
In summary, while skipping primer might seem like a shortcut during painting projects, it compromises both quality and longevity in most cases. Investing in this preparatory step ensures long-lasting results that enhance both aesthetics and functionality across various applications.
When embarking on a painting project, it’s easy to overlook the importance of primer. To ensure optimal results, understanding when and why a primer is necessary is crucial.
Its primary purpose is to ensure better adhesion of paint to the surface, increase durability, and provide an even base for color application. Depending on the type of surface or paint being used, primers may also serve additional functions like sealing stains or preventing moisture damage.
- Even Surface Preparation:It smooths out imperfections on porous or uneven surfaces for consistent paint application.
- Stain Blocking:Primers help seal and block stains such as watermarks, ink, or grease that might otherwise bleed through the topcoat.
- Improved Longevity:By ensuring proper adhesion and coverage, primed surfaces maintain their finish for longer periods.
- Color Accuracy:A primer provides a neutral base that prevents underlying colors from altering the appearance of your new paint color.
- New drywall is porous and tends to absorb paint unevenly without proper priming.
- Use primers specifically labeled as “drywall primers” for best results.
- Applying light-colored paint over dark walls without priming can result in uneven coverage and undesirable undertones.
- Choose high-hiding primers designed to mask bold hues.
- Glossy surfaces like lacquered wood lack natural adhesion properties.
- Sand lightly first, then apply an adhesion-promoting bonding primer.
- If stains such as smoke damage or watermarks are visible on your walls or ceiling, use stain-blocking primers designed specifically for these issues.
- Untreated wood absorbs paint inconsistently due to its grain texture.
- Use an oil-based or shellac-based primer for smooth coverage.
- Exterior walls are exposed to harsh environmental elements like UV rays and moisture.
- Opt for exterior-grade primers that seal surfaces against weather changes.
| Type of Primer | Best For | Key Benefits |
| Latex-Based Primer | General indoor use | Quick drying; low VOC levels |
| Oil-Based Primer | Bare wood; high-moisture areas | Superior stain-blocking |
| Shellac-Based Primer | Severe stains; odors | Excellent sealing properties |
| Tinted Primer | Dark-to-light transitions | Helps reduce number of topcoats |
Tips for Proper Application
- Thoroughly clean surfaces before application to remove dust or grease.
- Repair cracks or imperfections prior to priming.
- Apply an even coat with a roller or brush suited for your surface type.
- Allow proper drying time based on manufacturer recommendations before applying paint.
By integrating these steps into your painting routine, you ensure not only impeccable results but also long-lasting finishes tailored to your specific needs.
Expert Painting Company Toledo OH: Mastering Walls, Trim, and Baseboards
Painting walls, trim, and baseboards can elevate the appearance of any space by giving it a polished, cohesive look. To achieve professional results looking like Toledo Painters have done the job, proper technique and attention to detail are essential. This guide covers best practices for painting these surfaces effectively.
Preparing Your Surfaces
Preparation is key to a flawless paint job.
- Wipe down walls with a damp sponge to remove dirt and dust.
- Use a mild detergent for stubborn stains or grease spots on trim and baseboards.
- Fill nail holes or cracks with spackling paste.
- Use high-quality painter’s tape along edges where trim meets walls or ceilings.
- Cover floors with drop cloths or plastic sheeting to avoid paint drips.
- Apply primer on bare wood or surfaces with stains that could bleed through the paint.
Choosing the Right Paints and Finishes
The type of paint you use can significantly impact the final appearance.
- Walls: Opt for eggshell or satin finishes in living rooms and bedrooms for durability and easy cleaning. Use semi-gloss in high-moisture areas like kitchens or bathrooms.
- Trim and Baseboards: Semi-gloss finish is ideal as it provides durability while highlighting details like molding profiles.
| Surface Type | Suggested Paint Finish | Benefits |
| Walls (Living Area) | Eggshell/Satin | Subtle sheen; washable |
| Walls (Bathroom) | Semi-Gloss | Moisture-resistant; easy cleaning |
| Trim/Baseboards | Semi-Gloss | Durable; highlights architectural detail |
Painting Walls:
- Start by cutting in along edges with an angled brush (about 2-3 inches from tape).
- Work in small sections using a roller, applying paint in an overlapping “W” pattern for even coverage.
- Blend cut-in areas into roller-applied sections while still wet to prevent visible lines.
Painting Trim:
- Use a 2-inch angled brush for precision.
- Paint from one end of the trim to the other in smooth strokes, avoiding excess overlap.
- Keep an eye out for drips—lightly feather them out as you go.
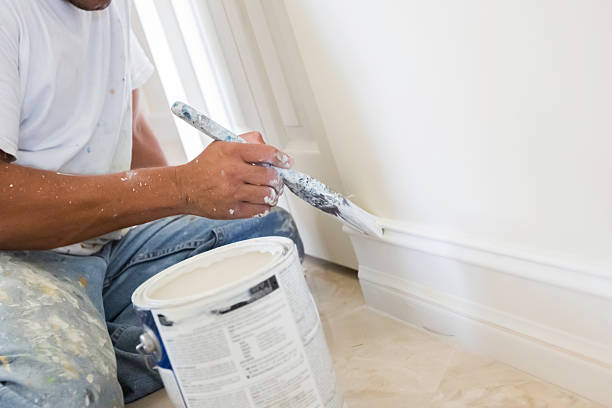
Painting Baseboards:
- Lay painter’s tape along both sides of baseboards (flooring and wall).
- Apply paint sparingly with an angled brush to prevent pooling at edges.
- Feather strokes evenly across the surface for professional results.
Common Mistakes to Avoid
- Skipping Primer:Always prime bare wood, dark colors, or stained surfaces before painting to ensure even color application.
- Overloading Your Brush/Roller:Too much paint leads to drips and uneven finishes—load just enough product for each stroke.
- Ignoring Dry Times:Allow sufficient drying time between coats (typically 4–6 hours) as recommended by your specific paint brand.
By following these steps and tips carefully, you’ll achieve crisp lines on trim/baseboards and smooth walls without streaks or imperfections—creating a polished look that transforms any room into a stunning space worth admiring!
- Comprehensive Guide to House Painting Toledo OH for Beginners
- Exploring House Painting in Toledo OH: Different Types of Paint and Their Best Uses
- Essential Tips and Tricks for Painters Toledo OH Beginners
- Comprehensive Guide to House Painting Toledo OH: Tips for Inside and Out
- Expert Interior Painting Tips from a Leading Painting Company Toledo OHHow Often Should You Repaint
- Your Home with Painters Toledo OH and Why
- Understanding the Differences Between Interior and Exterior Paint with a Painting Company Toledo OH